
User Guide
Helping you get all you need from MindNode. Learn everything from the elementary to the most advanced features, shortcuts & functions.
User Guide
Styling single nodes
First, let's take a look at how you can style one single node:
Once you've selected your favorite style in the Styles tab, you have the option to apply it either to just the currently selected node (which happens automatically) or also to your child nodes, sibling nodes, entire mind map, or nodes on the same level.
They're in the main menu at the top of the screen on your Mac under Format > Copy Style.
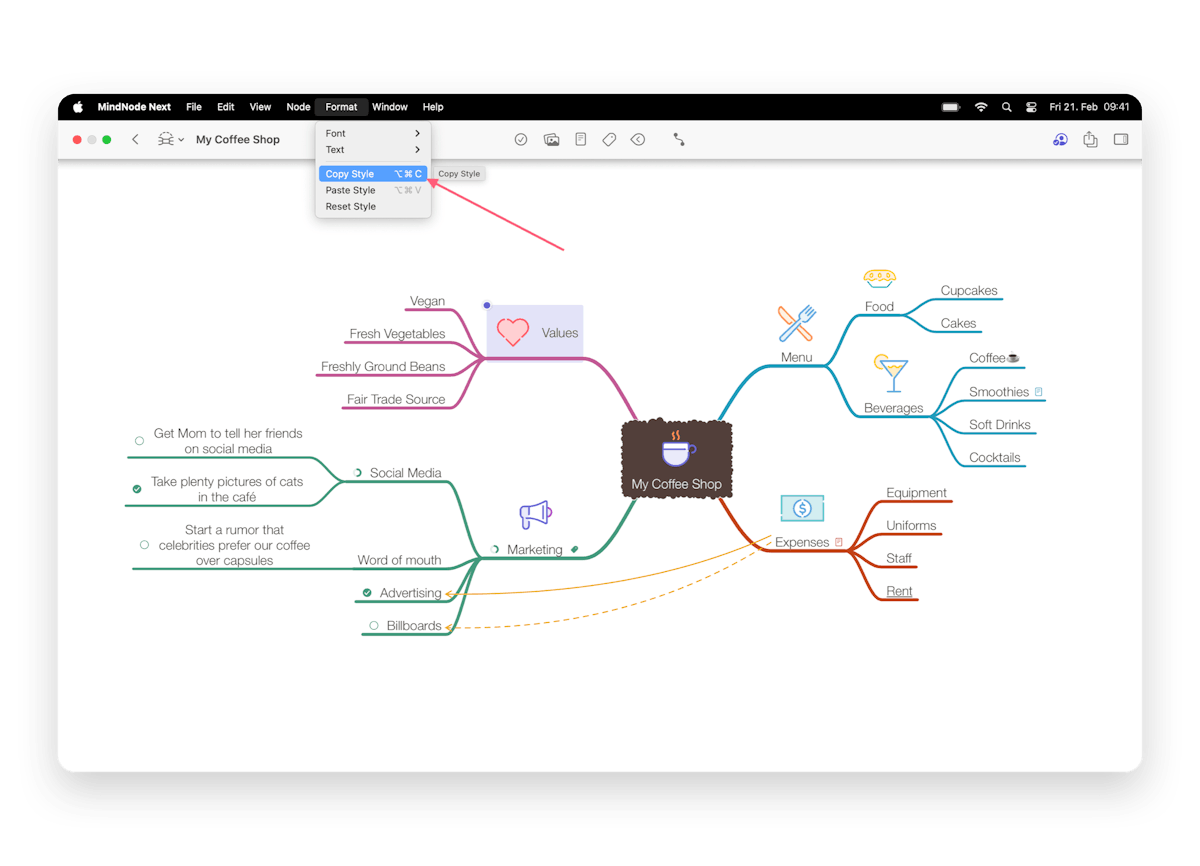
Styles: shapes & borders
You can now play around with your nodes' shapes and borders — turn them into colored clouds, hexagons, and much, much more.
- Mac
- iPad
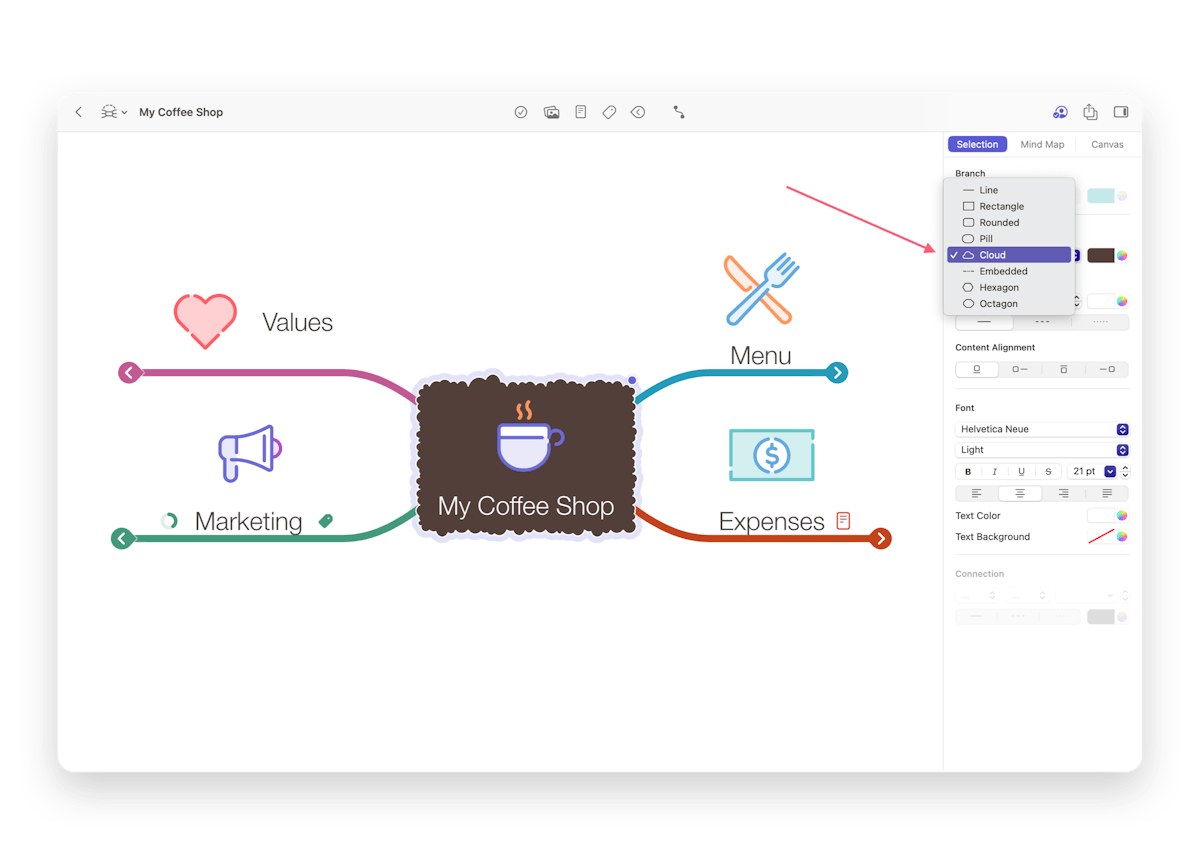
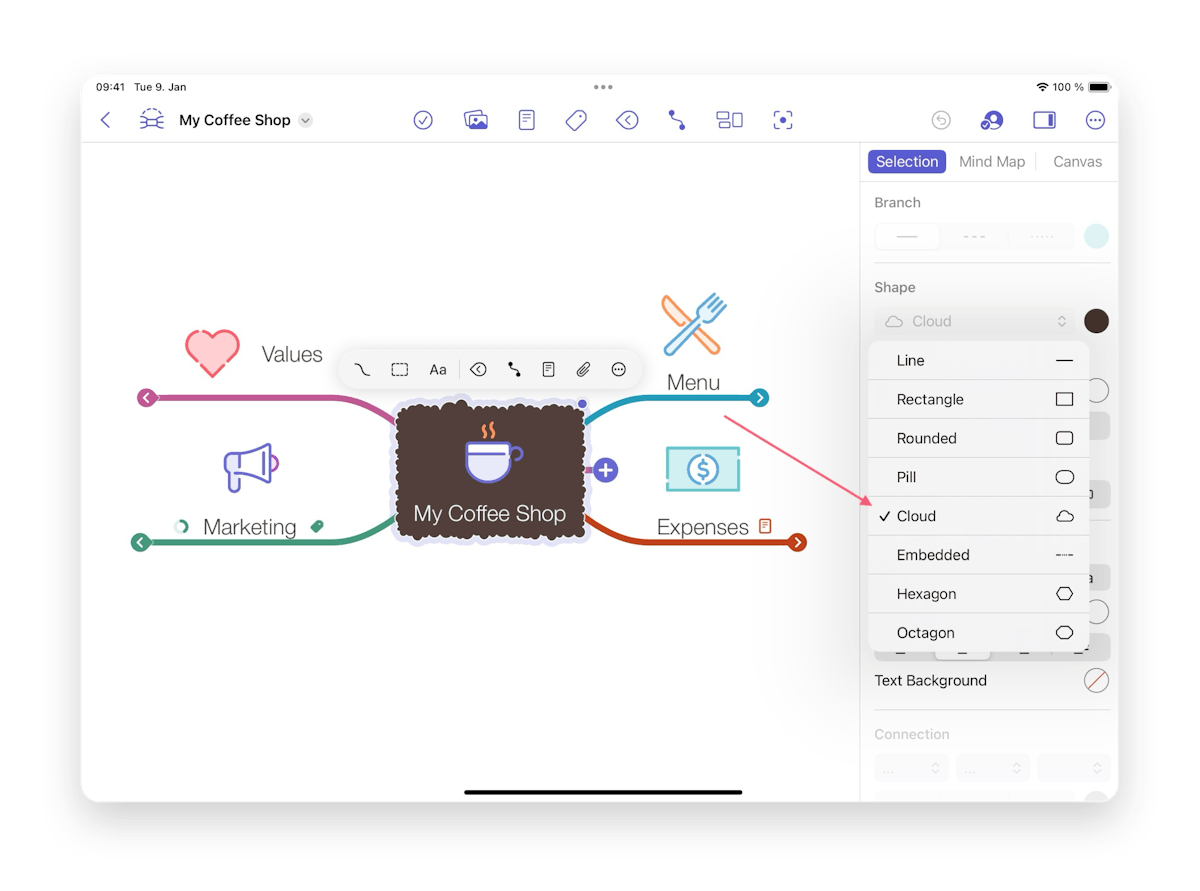
Start by selecting a node or multiple nodes.
In the Styles tab (brush icon) and Shape, you can choose whether you’d like your node shape to be: Line, Embedded, Rectangle, Rounded, Pill, Cloud, Hexagon, or Octagon.
Here you can also choose the background color of your node.
The node width adjusts to the length of the node text, with a maximum of around 320pt.
If you prefer to define your own node width:
You can check Manual Width on your Mac. You can deselect Shrink node width to fit content in the Preferences to change the default.
On iOS, you can change the width using the stepper or long-press the width and enter the chosen width.
You can also change the node's border, including line type, thickness, and color.
Branches & connections
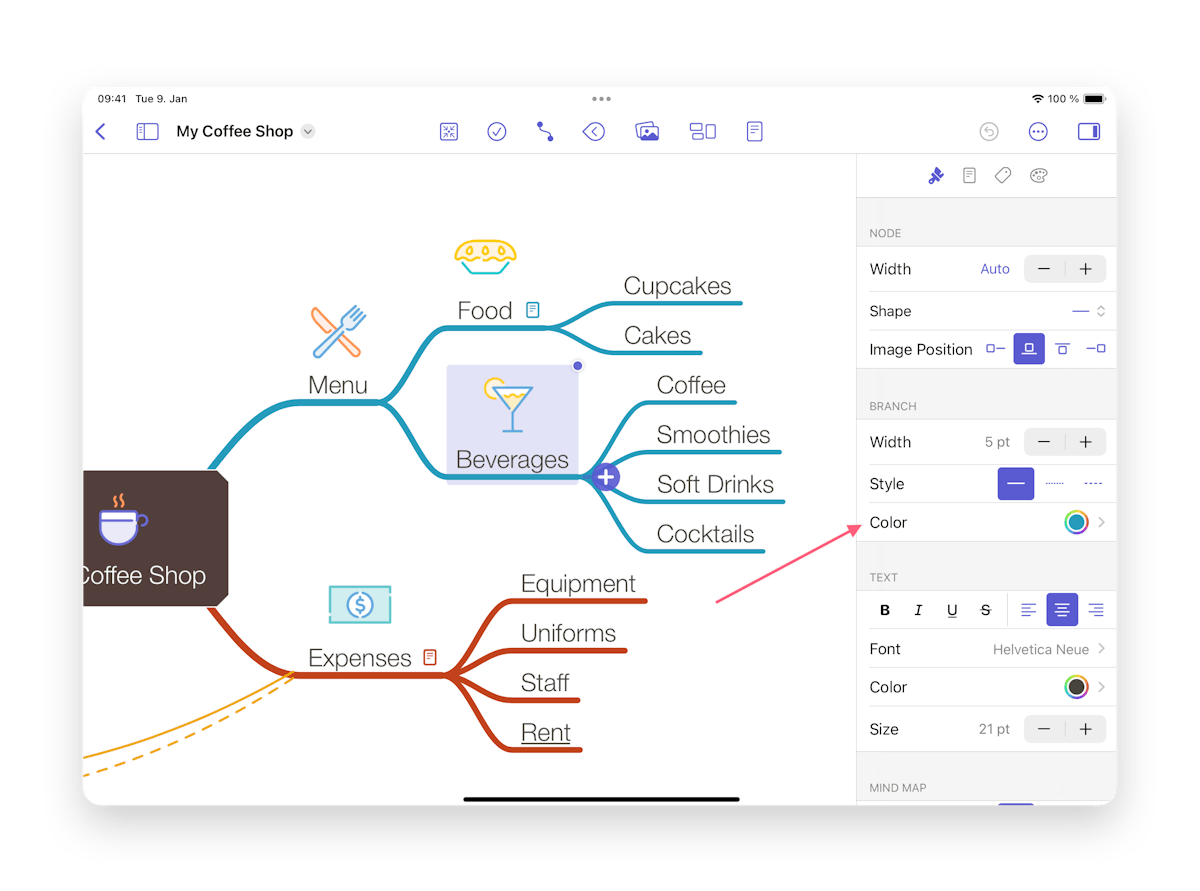
You can change the style of a branch or a connection by selecting the node it's attached to.
For the branch, you can change:
- Line type
- Color
- Thickness. MindNode will automatically select this by default. You can move the slider to choose your own branch thickness. You can select everything by clicking and dragging across the entire MindNode mind map. If you adjust the width on the slider now, it will be applied to the whole mind map.
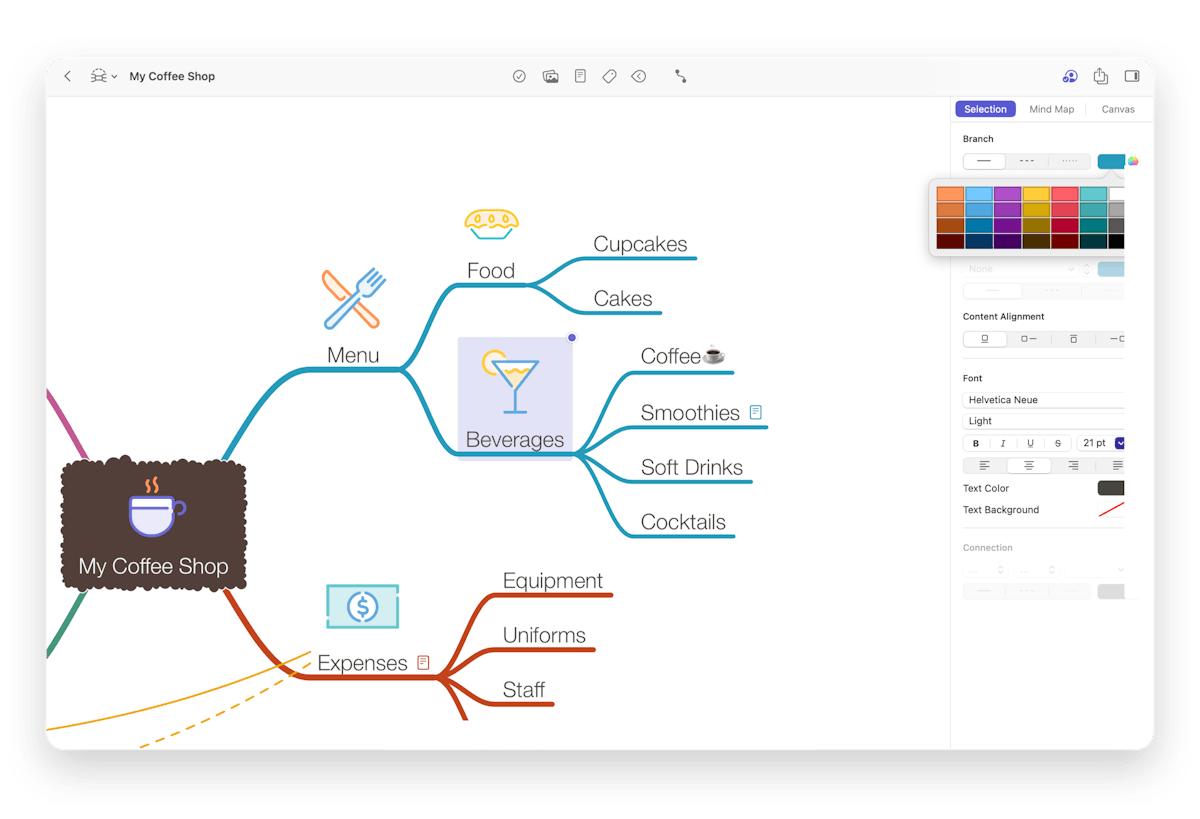
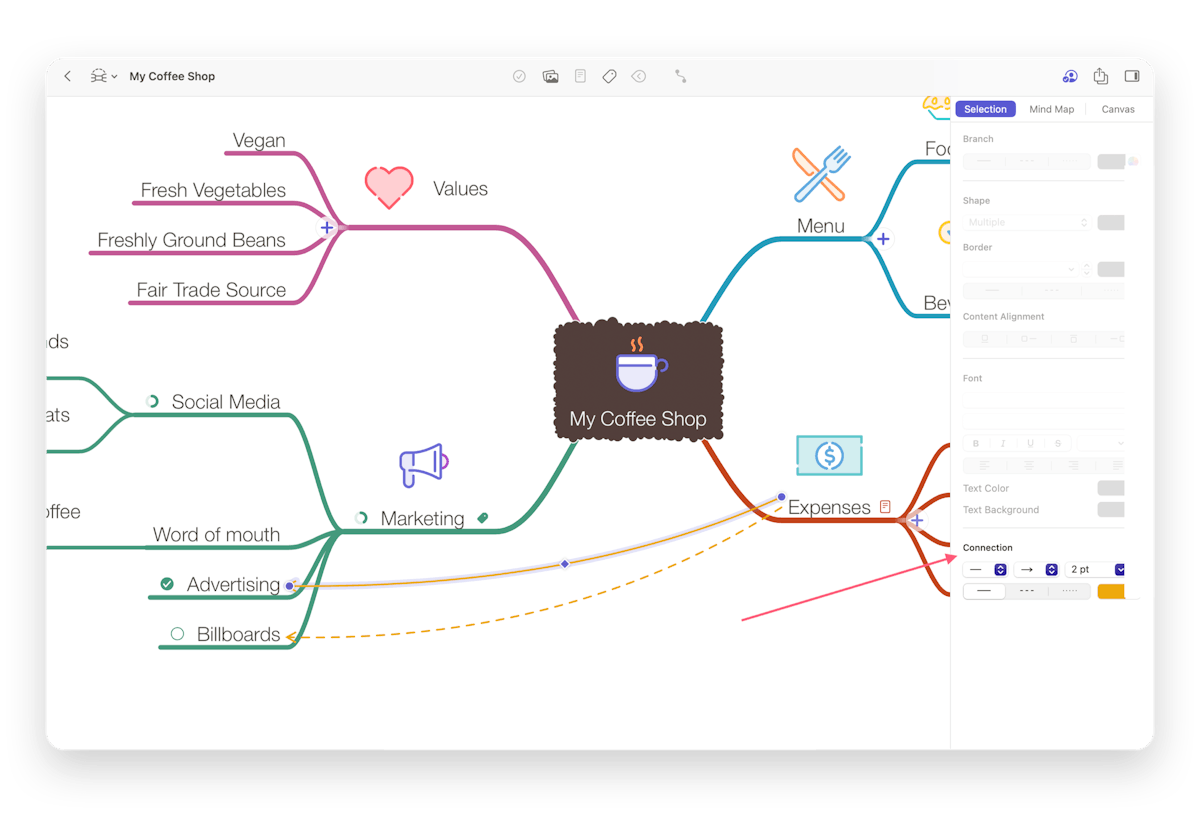
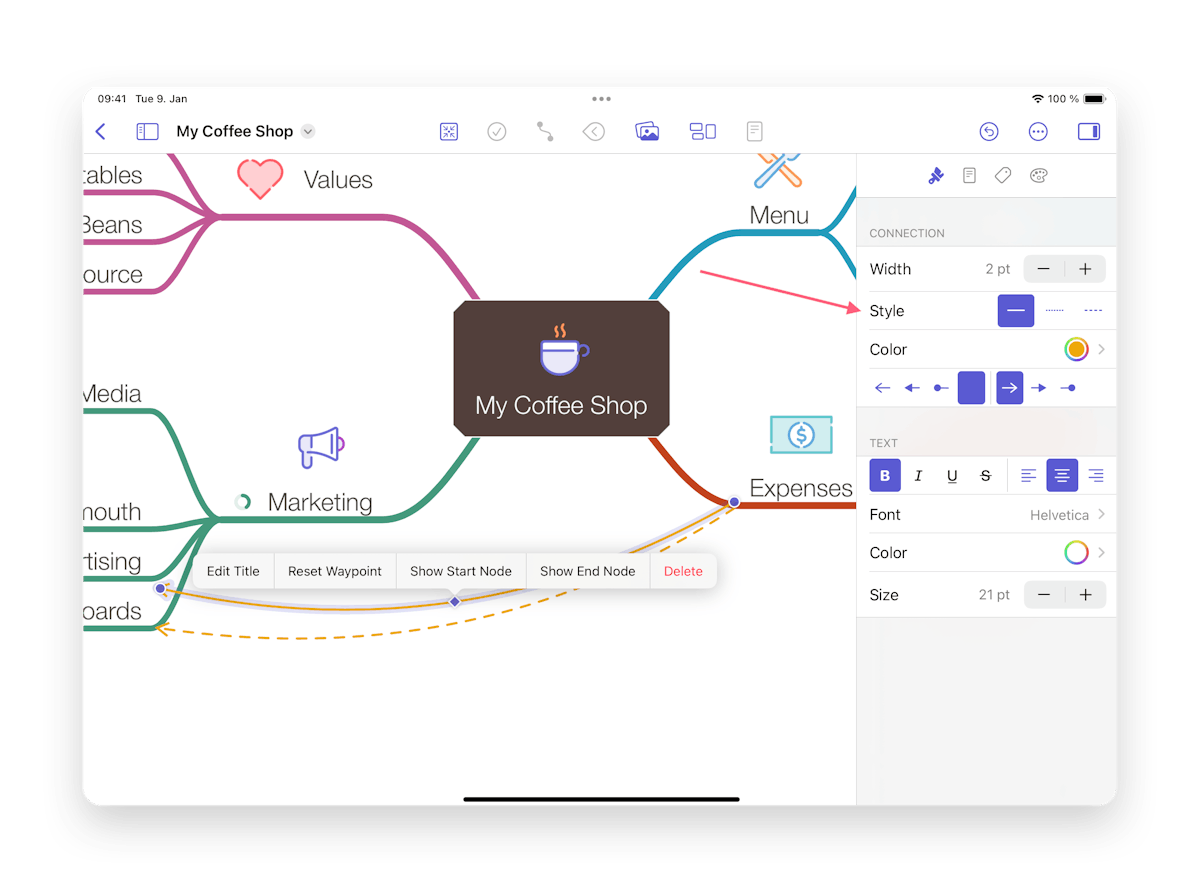
For connections, you can choose:
- Start- and end-point styles
- Line style
- Thickness
- Line color. The connection title background will have the same color as the connection.
- Mac
- iPad
Text
In the Font section, you can change the look of the text in the node title or the connection label, including its:
- Type
- Appearance (i.e., italic, bold, underlined, strike-through, and so on)
- Size
- Color
- Positioning
Image positioning
MindNode will place your images above the node title by default.
- Mac
- iPad
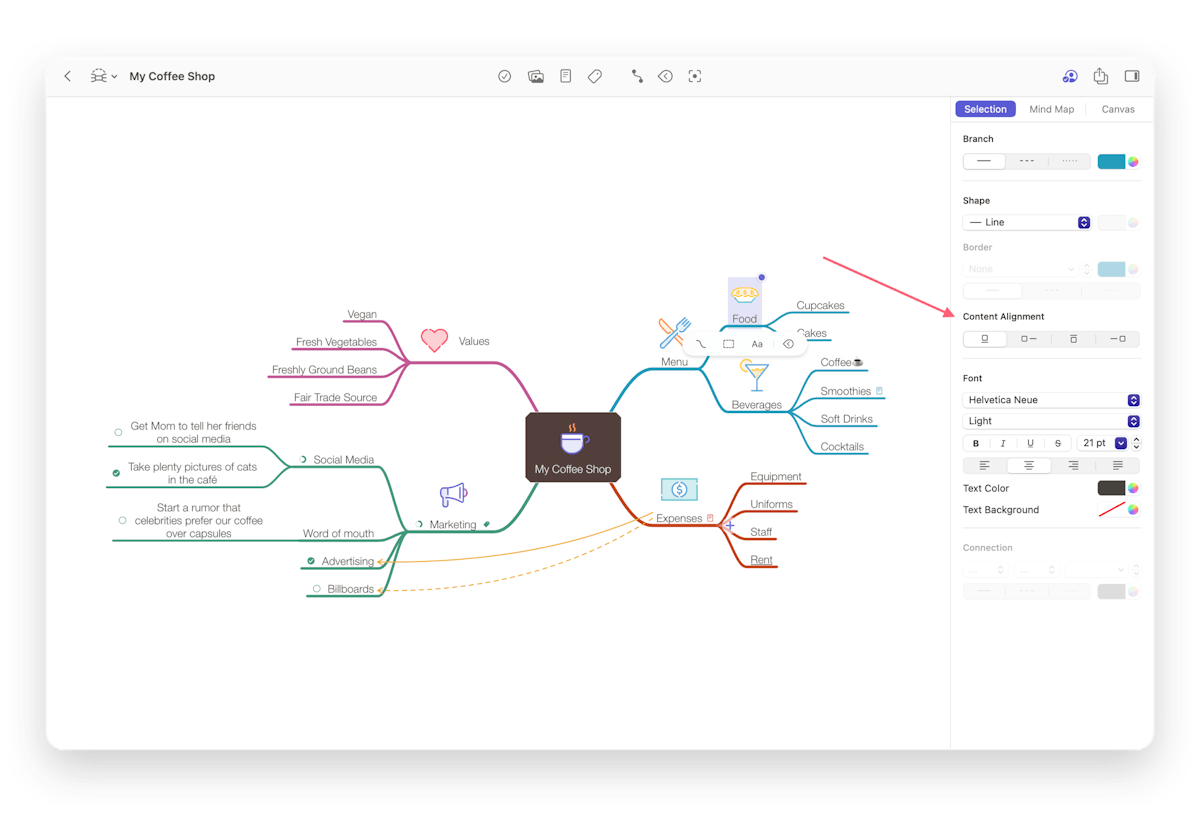
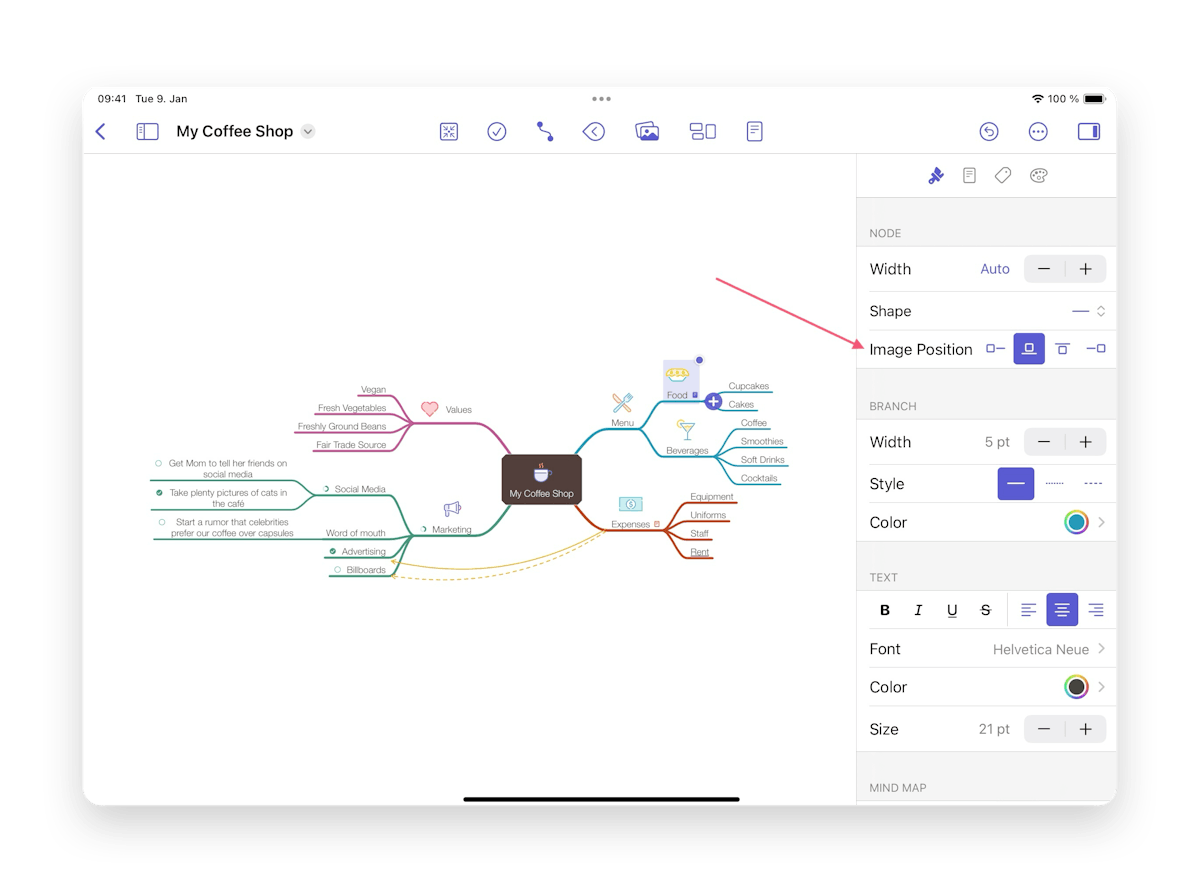
By choosing one of the four options in the sidebar/panel you can, however, change the image position to:
- Underneath the title
- In front of the title
- Behind the title
Last updated on
Print User Guide