
User Guide
Helping you get all you need from MindNode. Learn everything from the elementary to the most advanced features, shortcuts & functions.
User Guide
MindNode mind map styling
Now that we've talked about styling individual nodes let’s move on to styling the entire MindNode Next mind map.
Layouts
The most important thing to watch out for when it comes to the readability of your mind map is bound to be the layout. How you arrange your info determines how easy it is to understand. Here's how you can easily change the layout:
- Choose between two Branch Types; Rounded and Angular.
- Select either the horizontal (left and/or right) layout, the vertical (top and/or down) layout, or the compact layout (e.g. for organizational charts).
- Decide on narrow, default, or wide spacing between your nodes.
You can apply these layout styles individually for each main node.
- Mac
- iPad
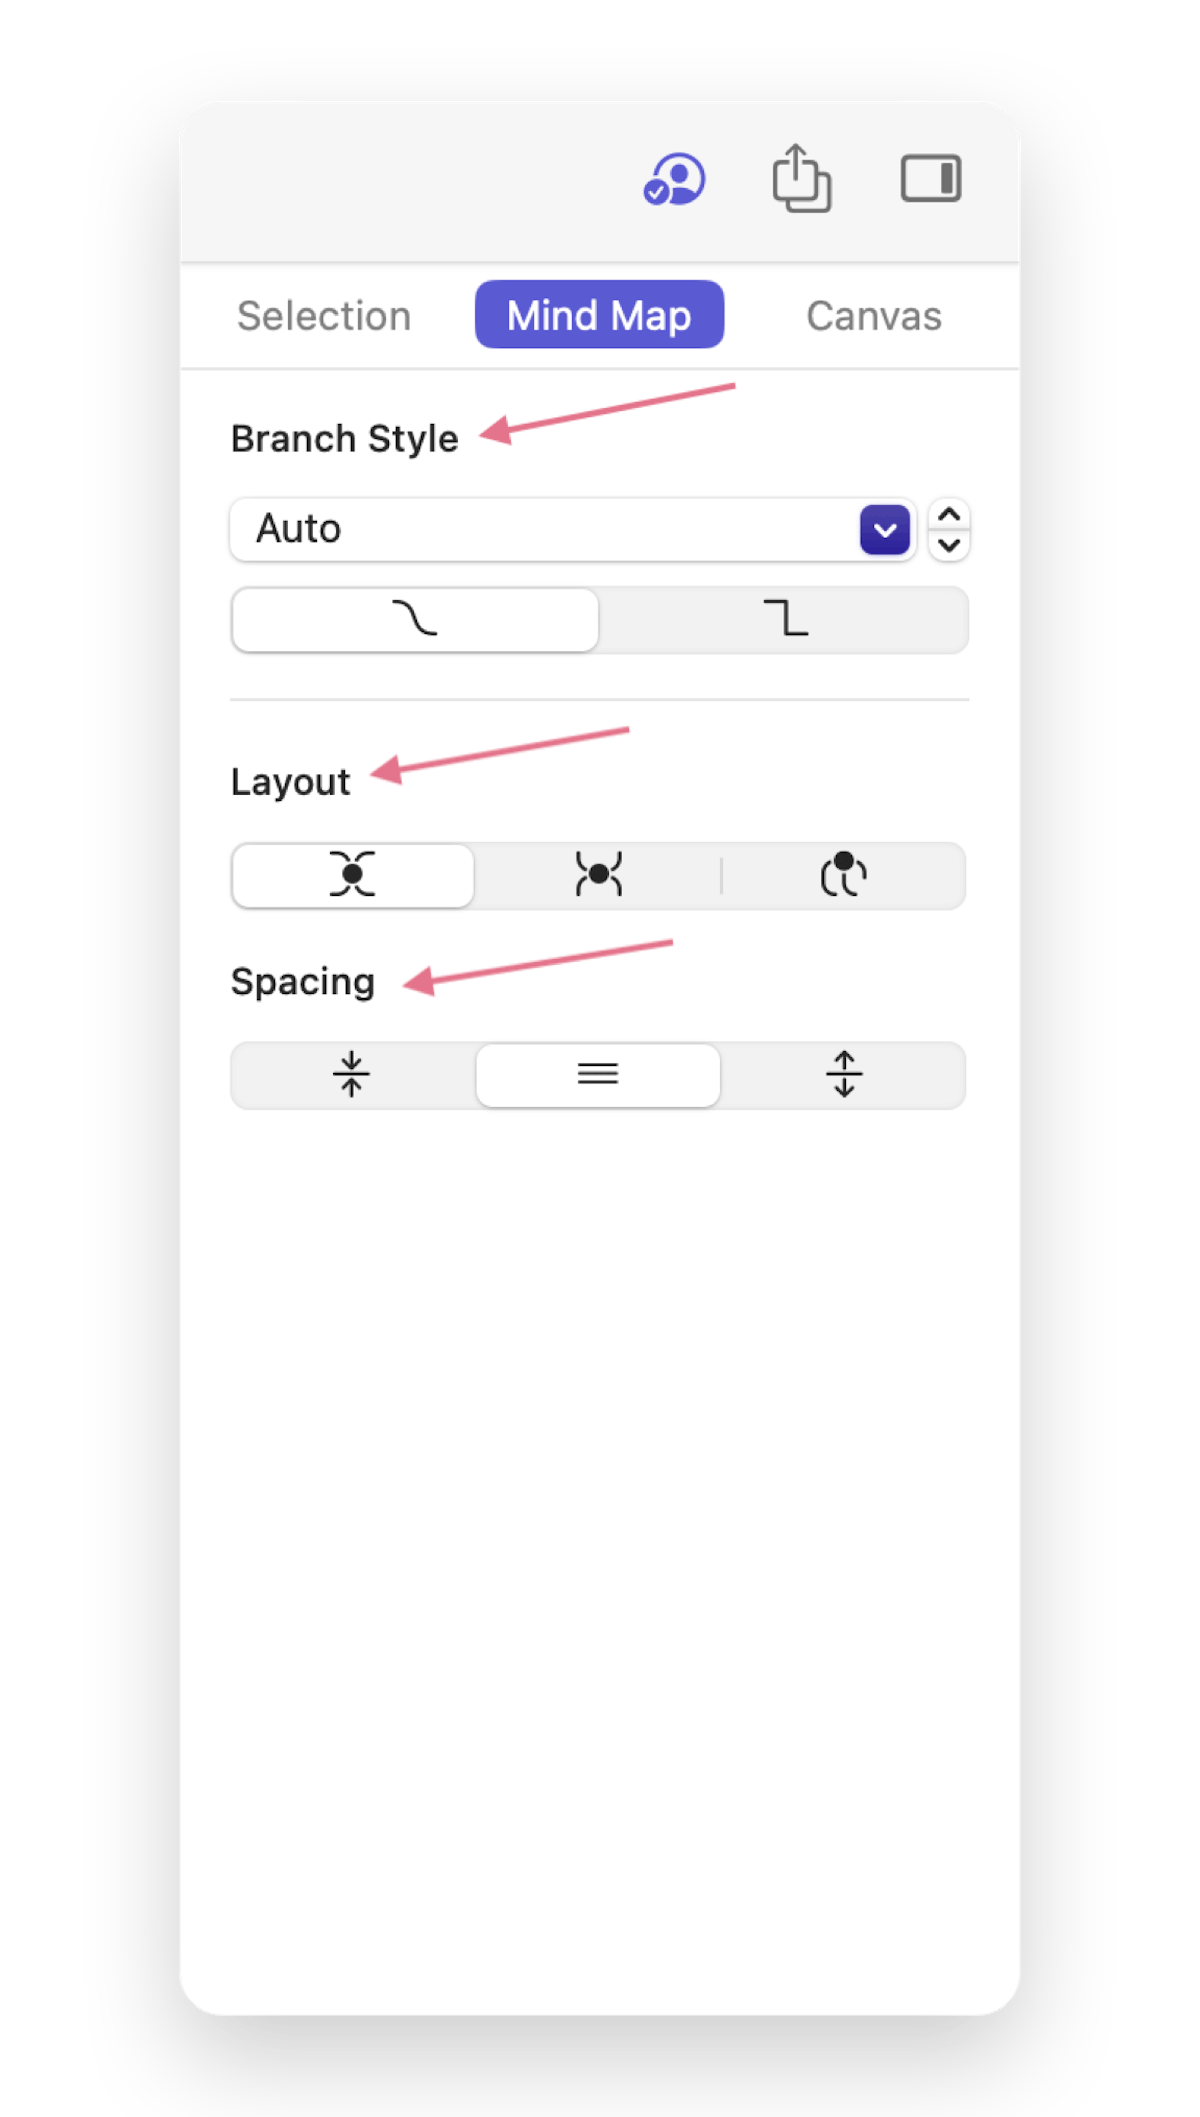
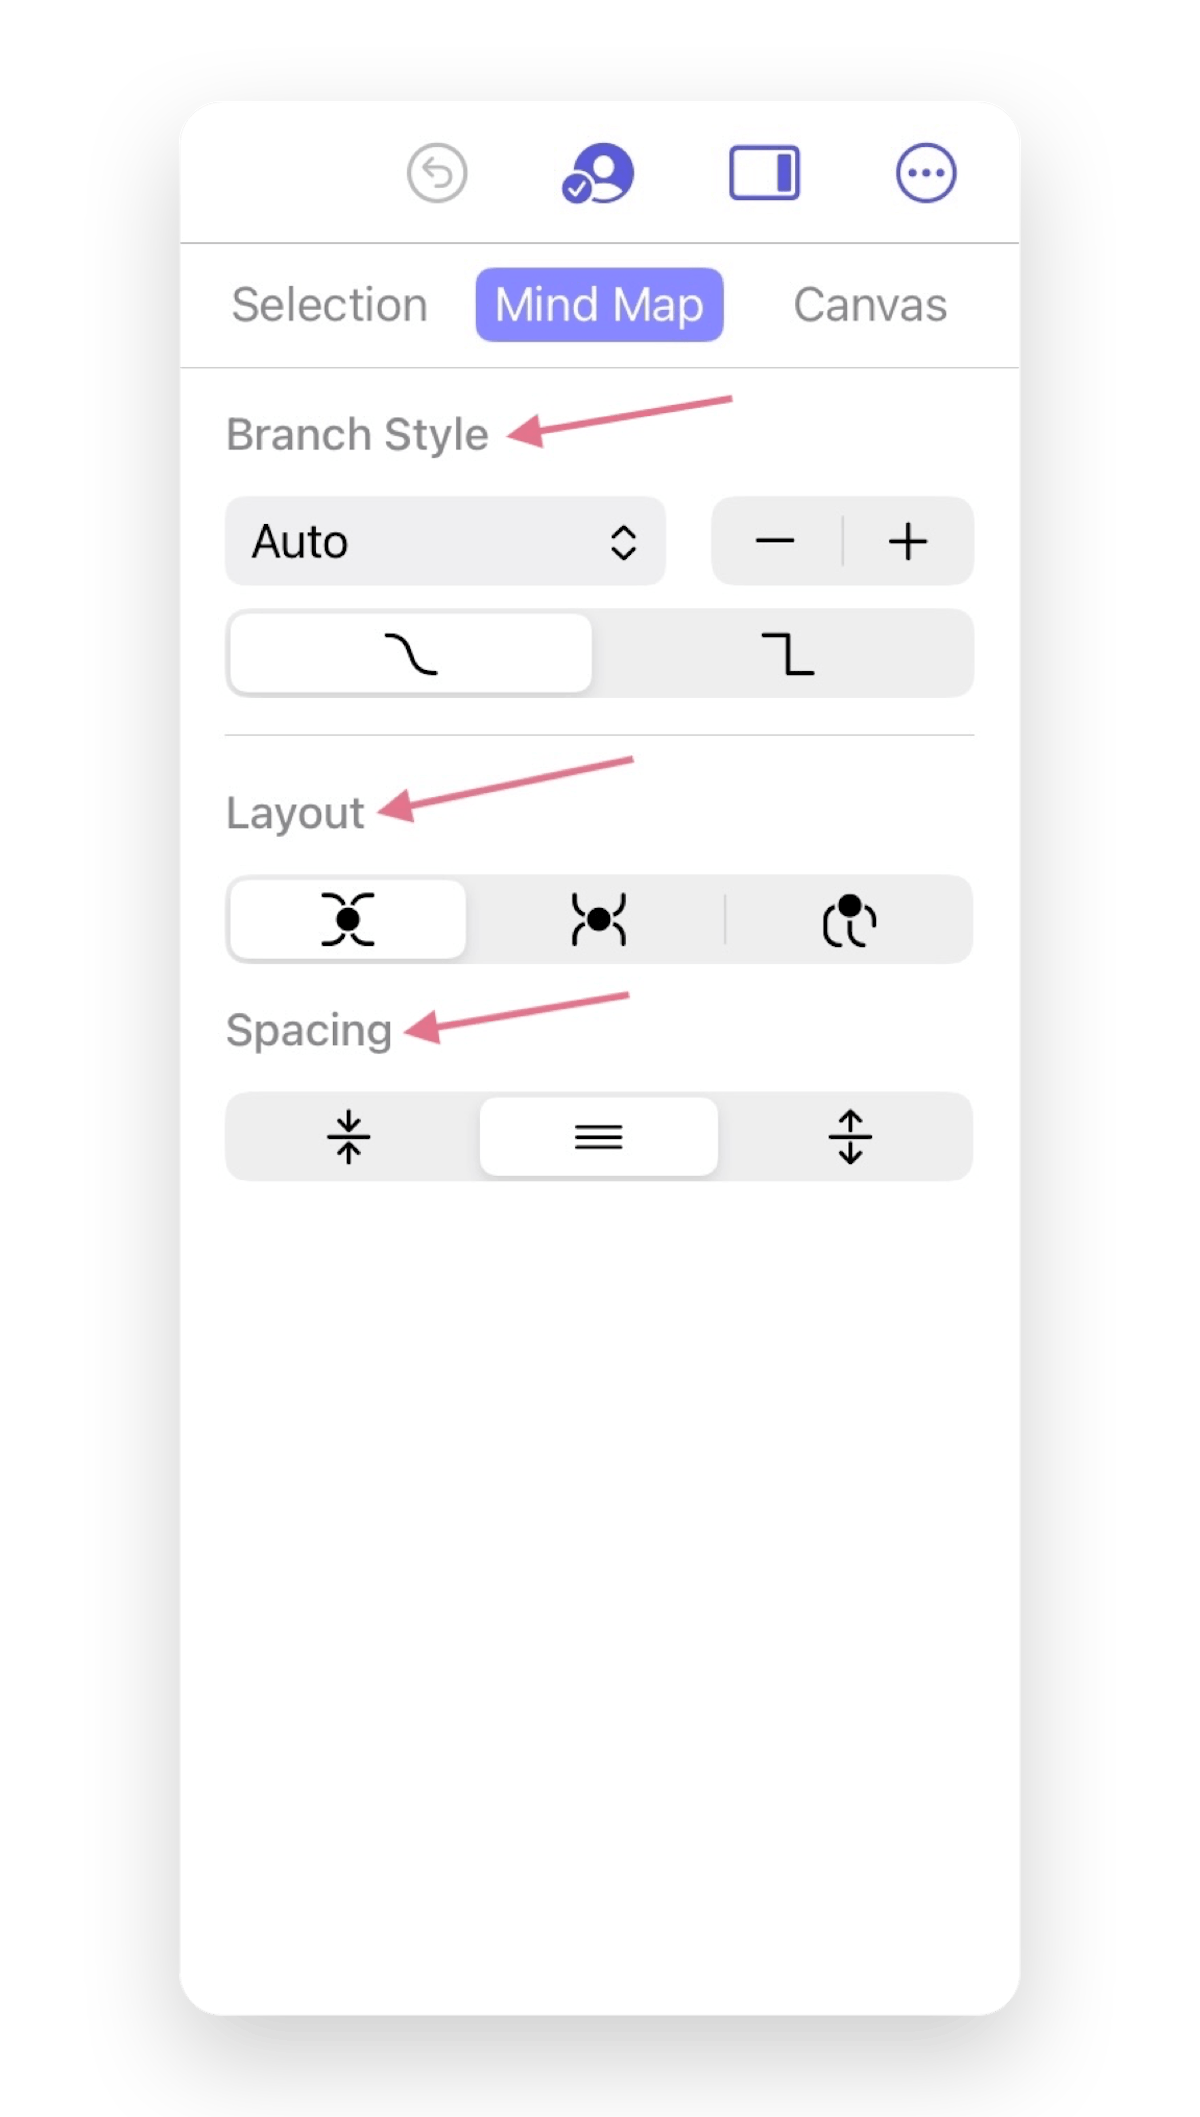
Helpful actions while determining the layout of your mind map include Balance Mind Map and Move All Node Left/Right or Top/Bottom, which you can find under Organize.
- Mac
- iPad
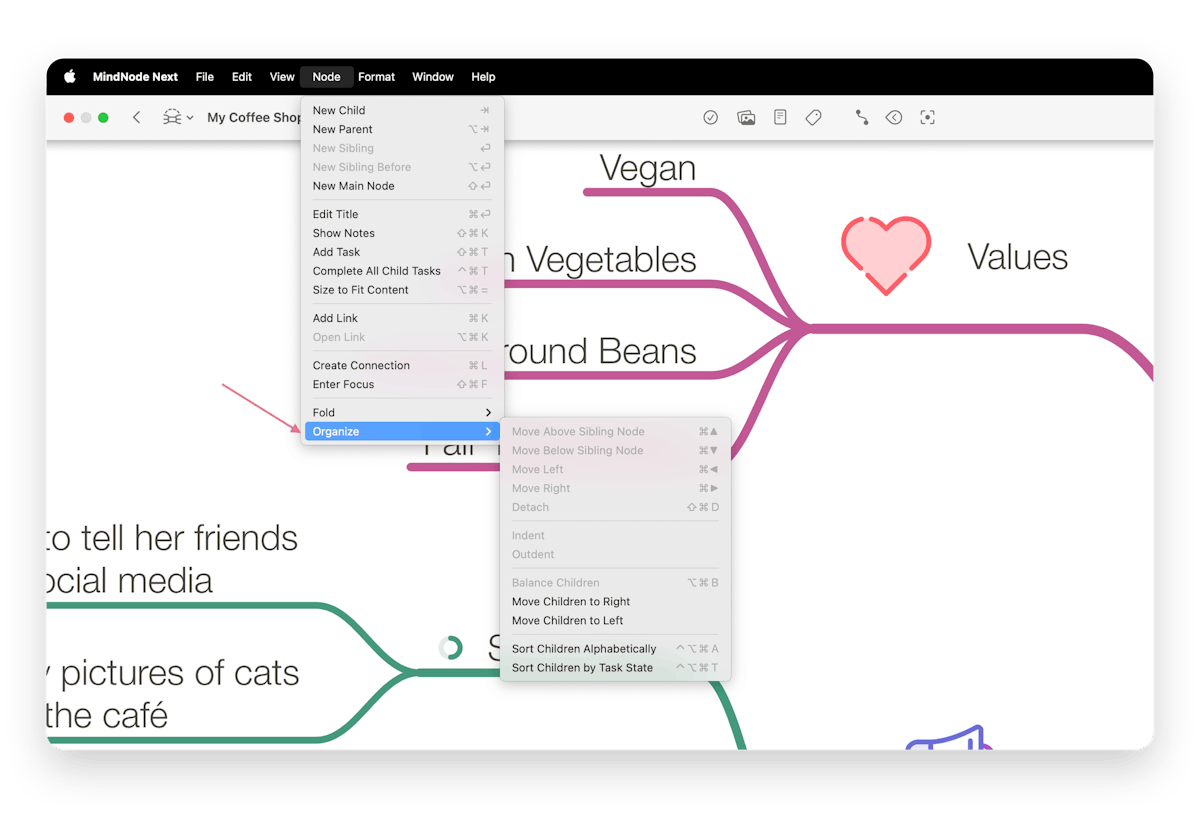
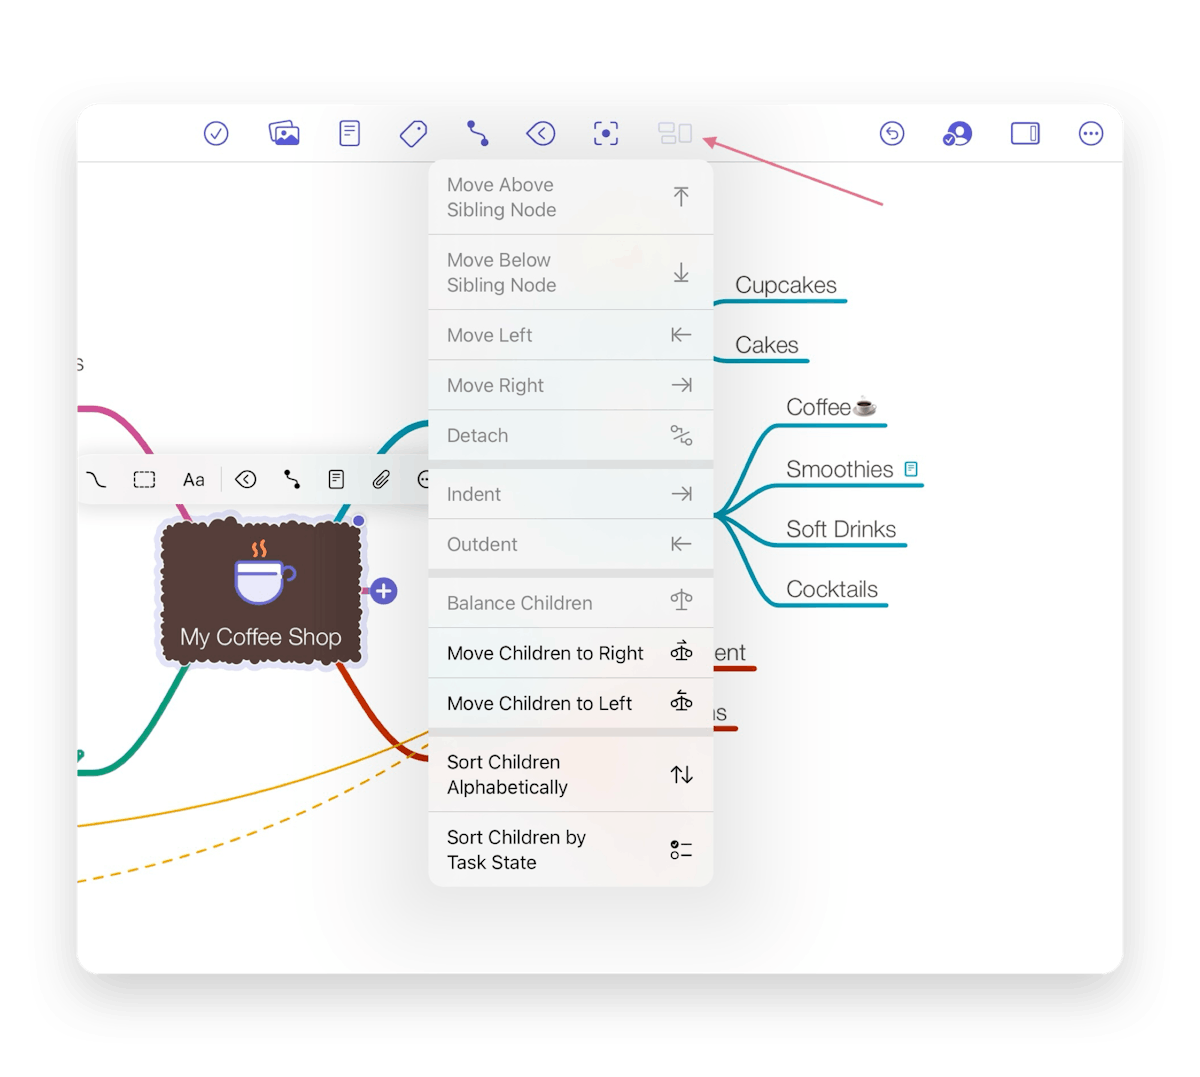
Canvas
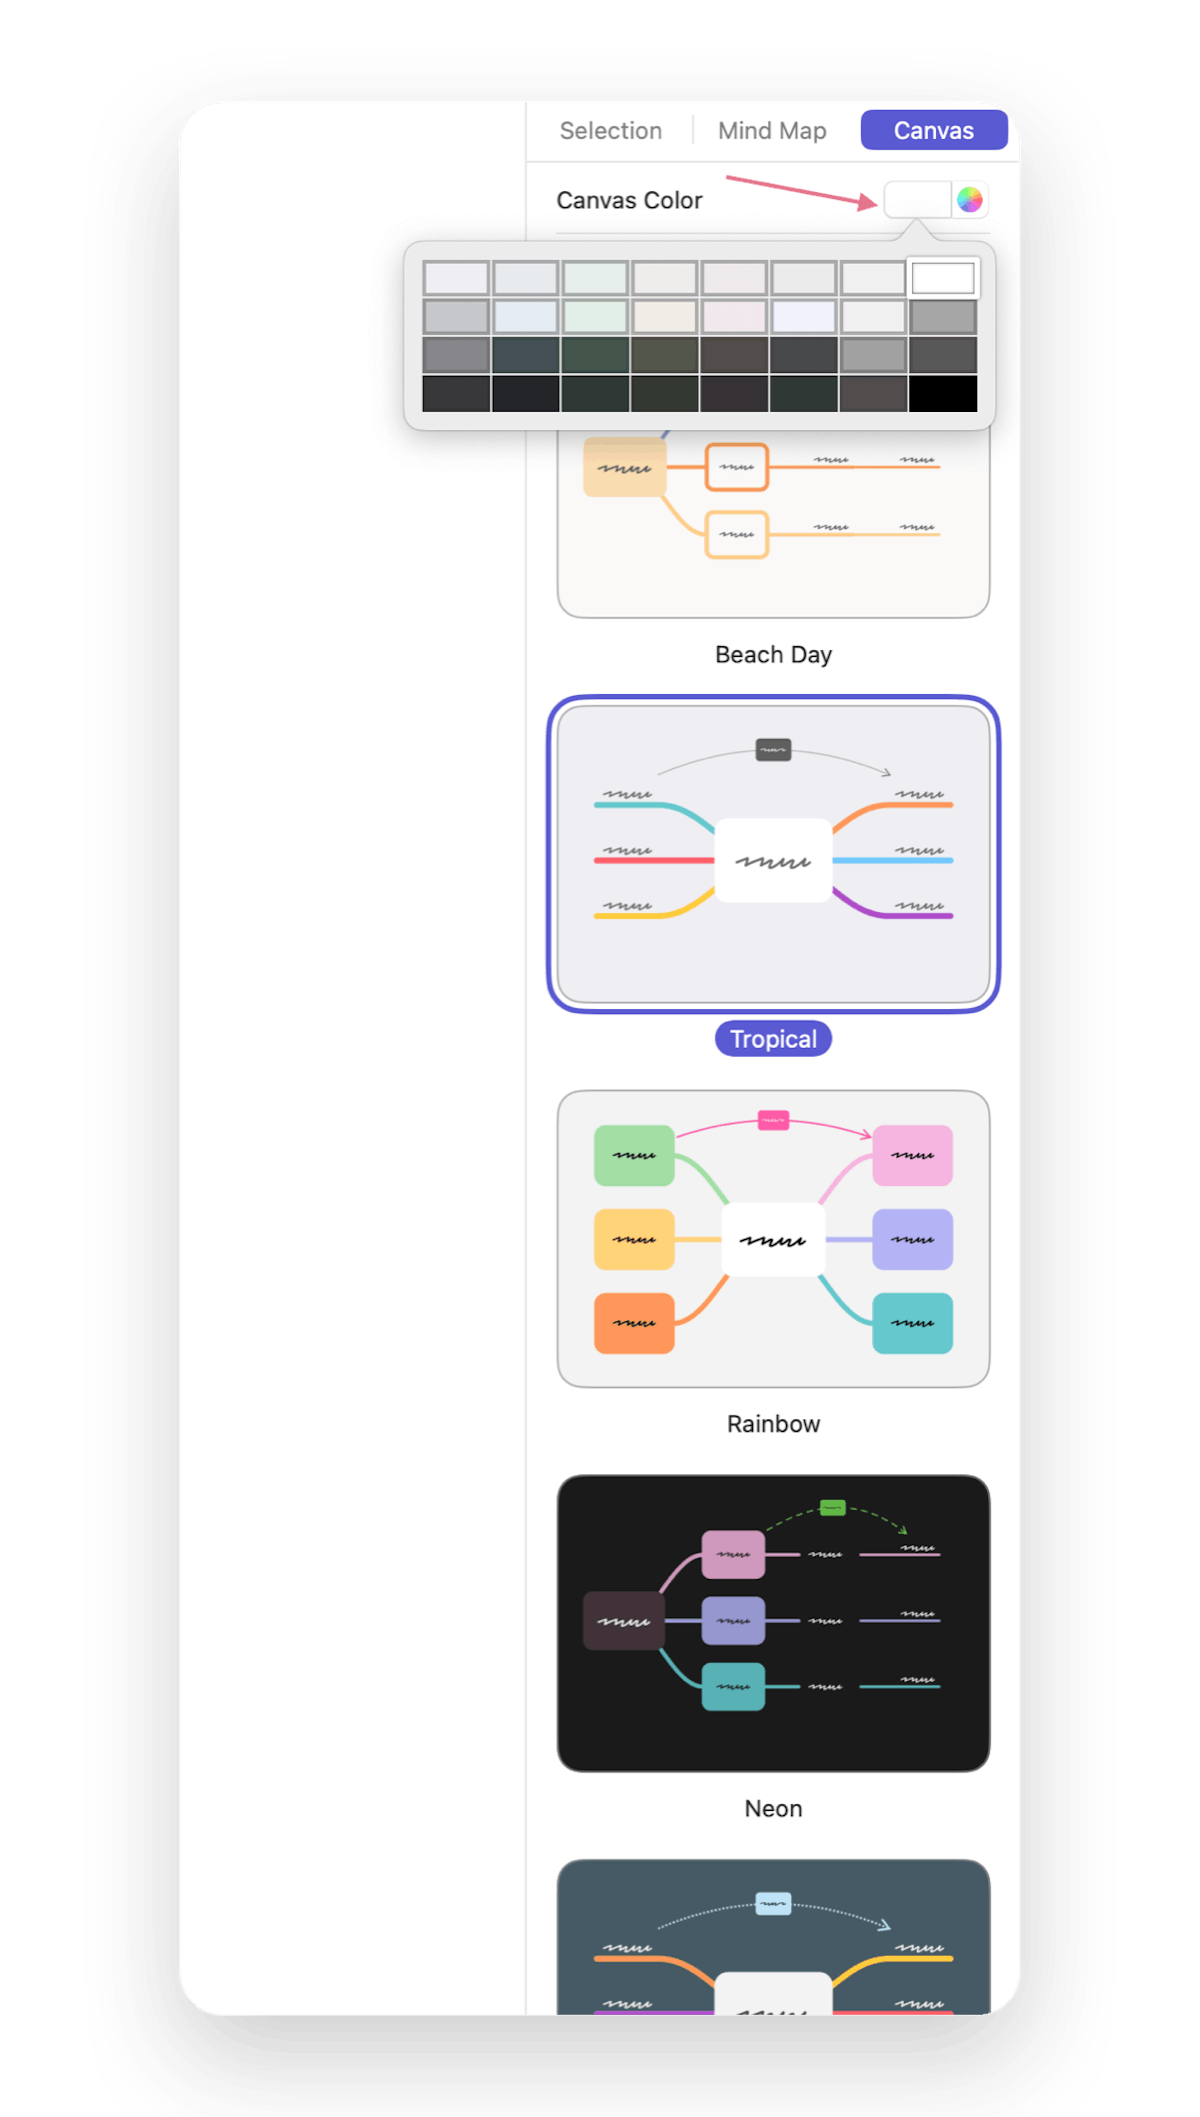
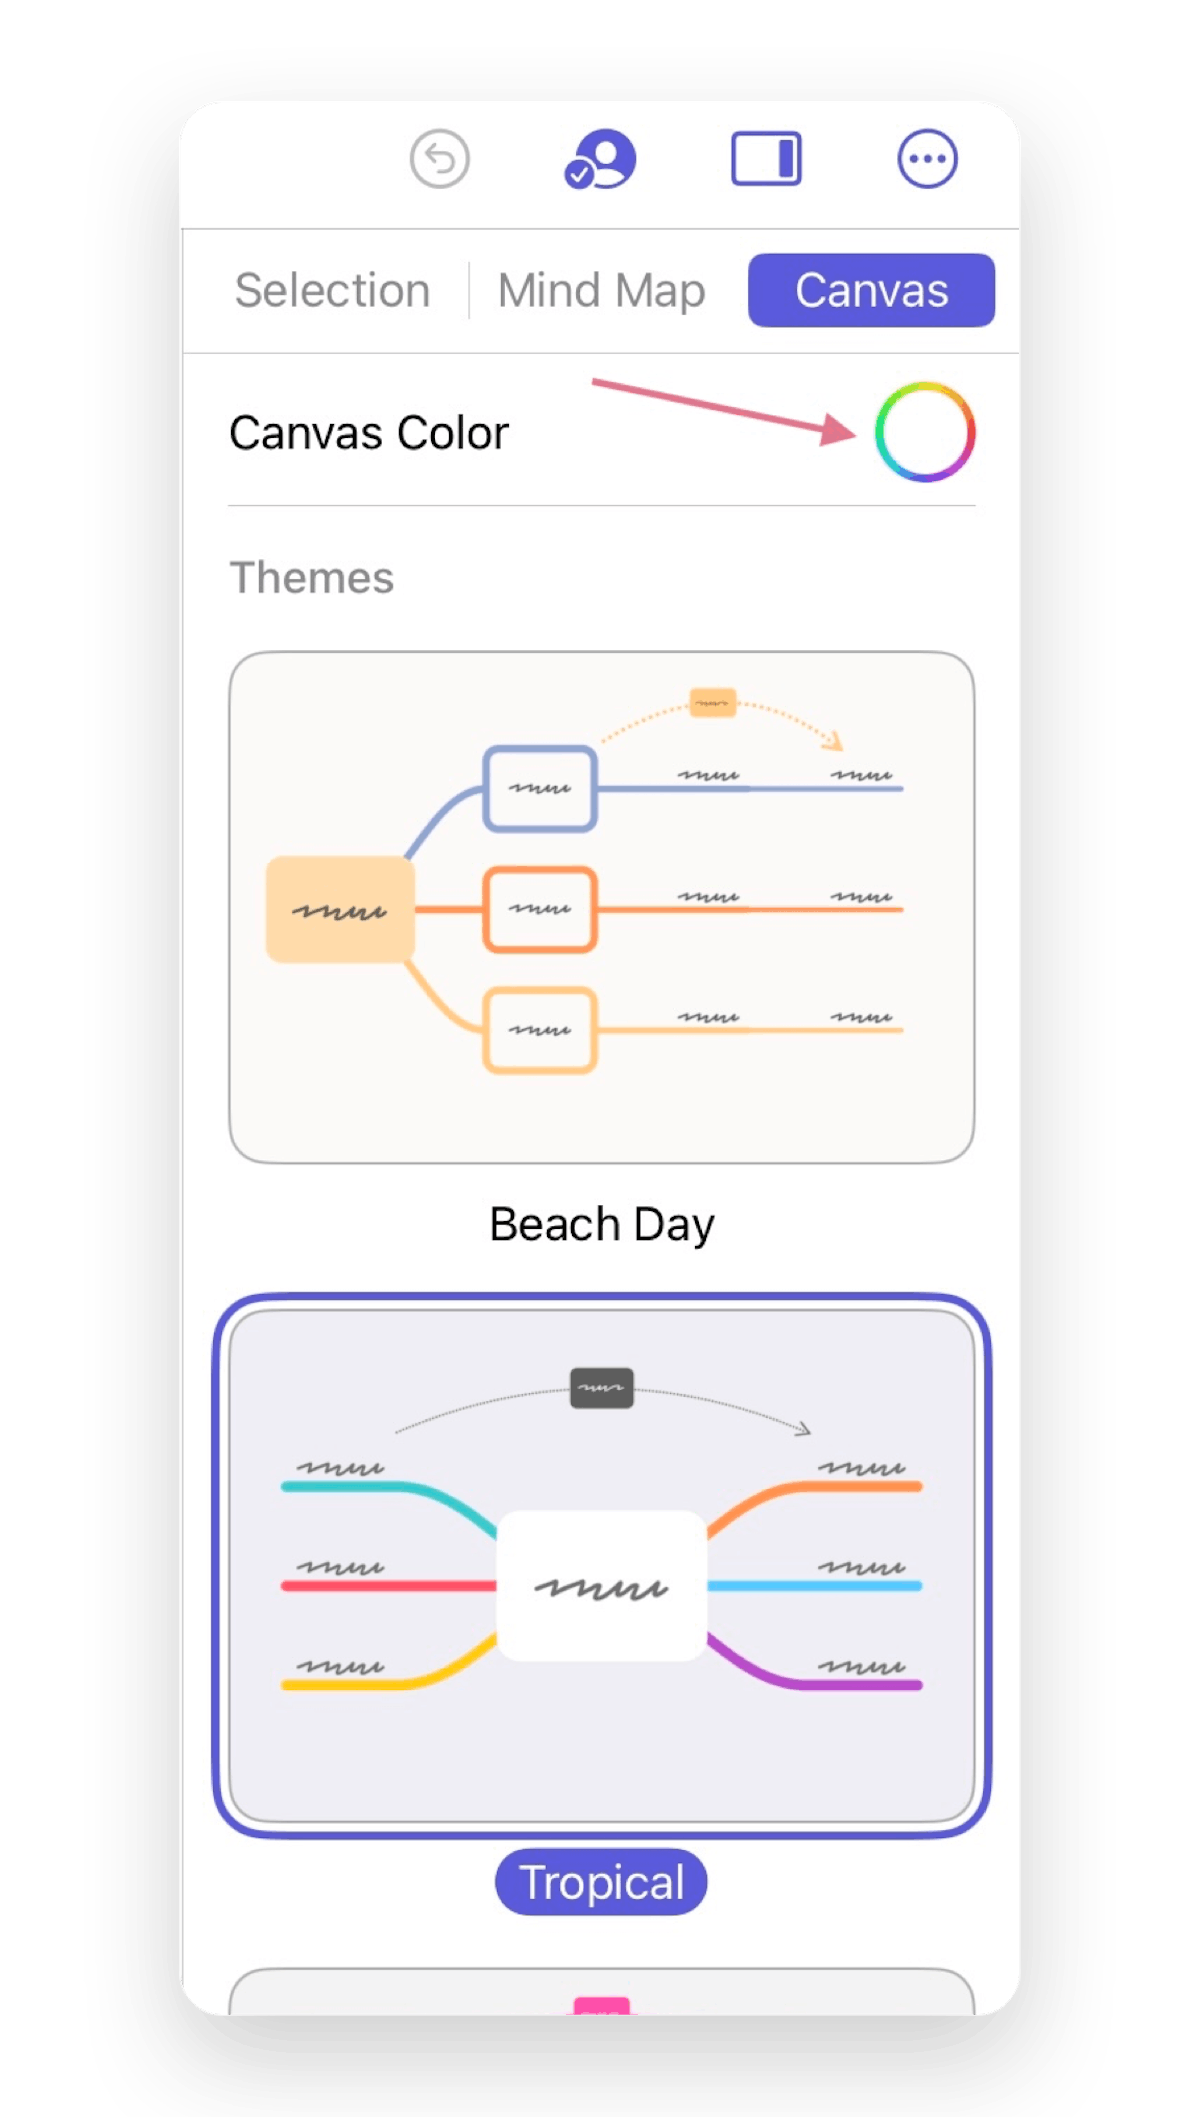
The canvas, essentially, is the background behind your mind map. You can change its color at the top of the Canvas sidebar (Mac/iPad)/bottom of the Themes tab in the panel (iPhone).
- Mac
- iPad
Themes
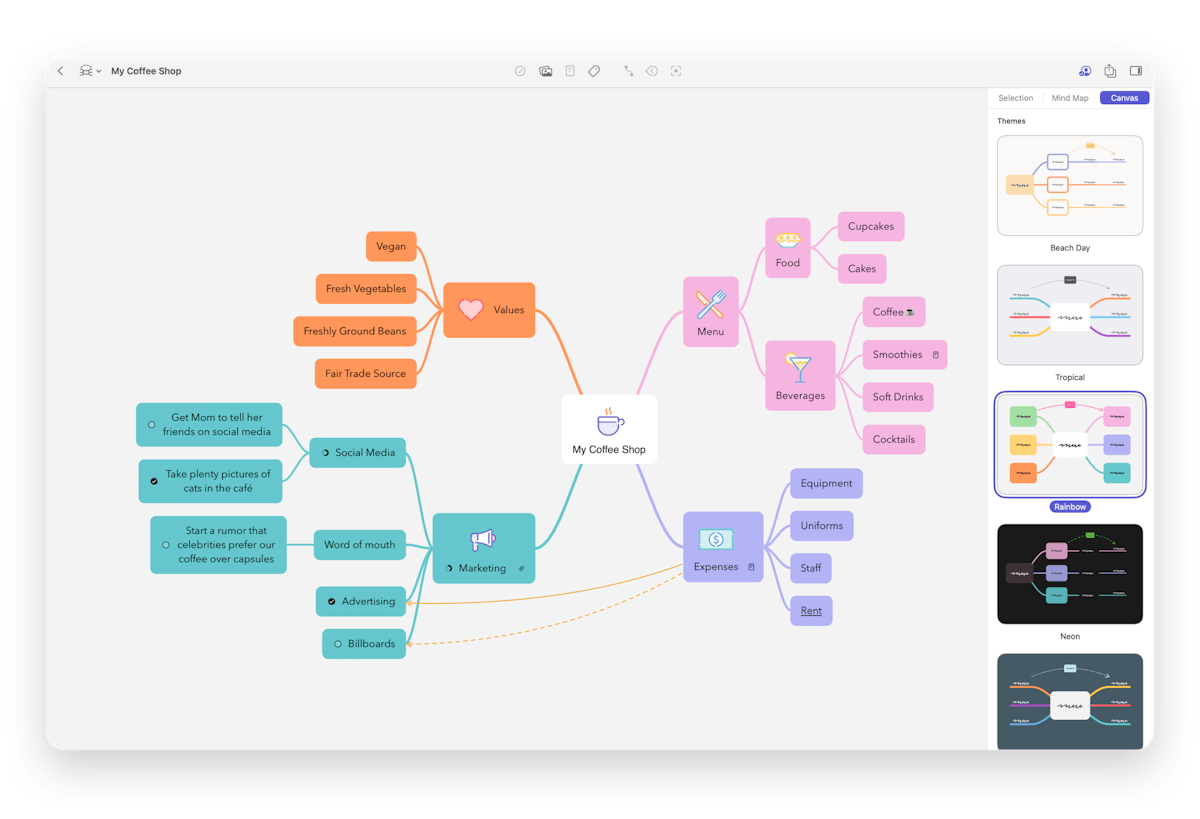
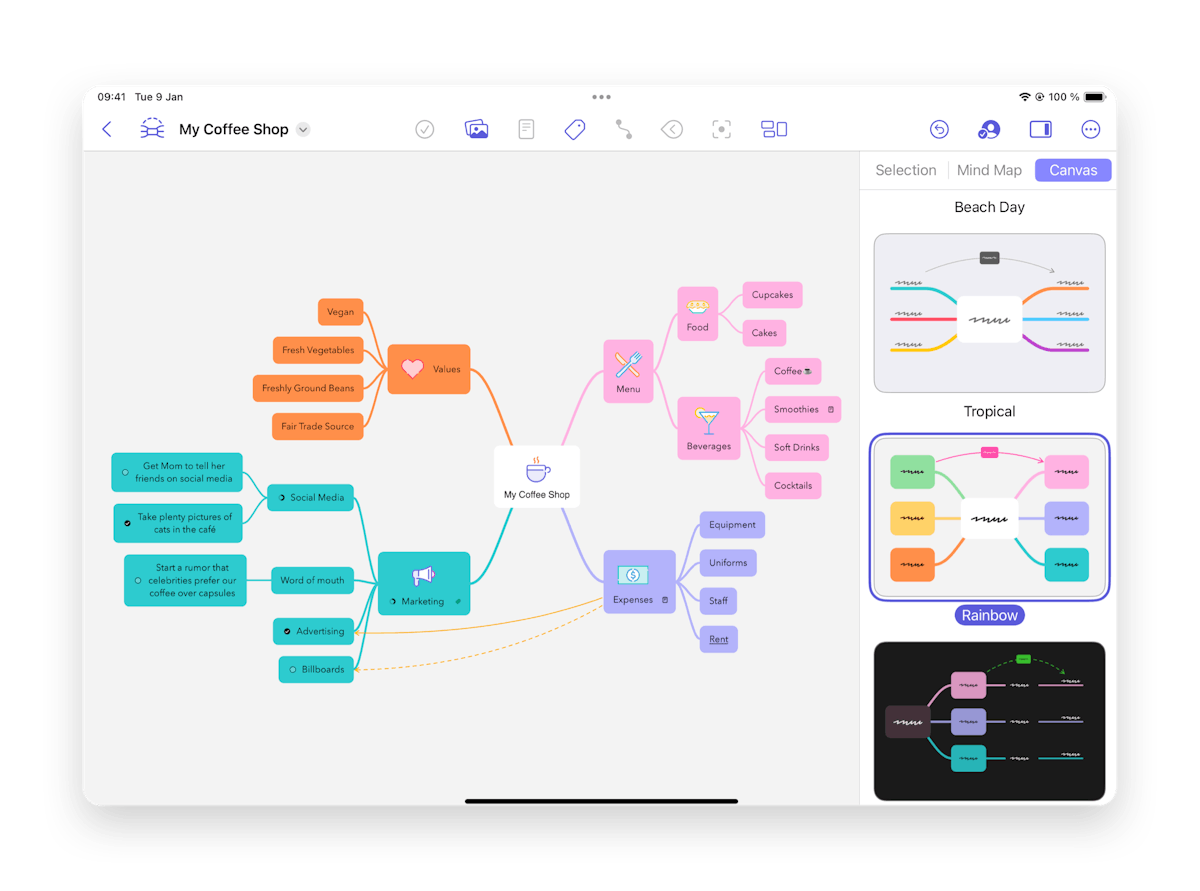
To make creating visually appealing mind maps as easy as possible, MindNode Next comes with a bunch of themes for your MindNodes Next document.
To apply a theme to your document, open the Canvas sidebar (Mac/iPad)/Themes panel (iPhone)/Themes sheet (Vision Pro), and tap/click on the Theme you like.
The last used theme gets synced via iCloud between MindNode Next on macOS, iOS, and VisionOS.
- Mac
- iPad
Last updated on
Print User Guide